Arduino
Sound sign with LED controlled by Arduino
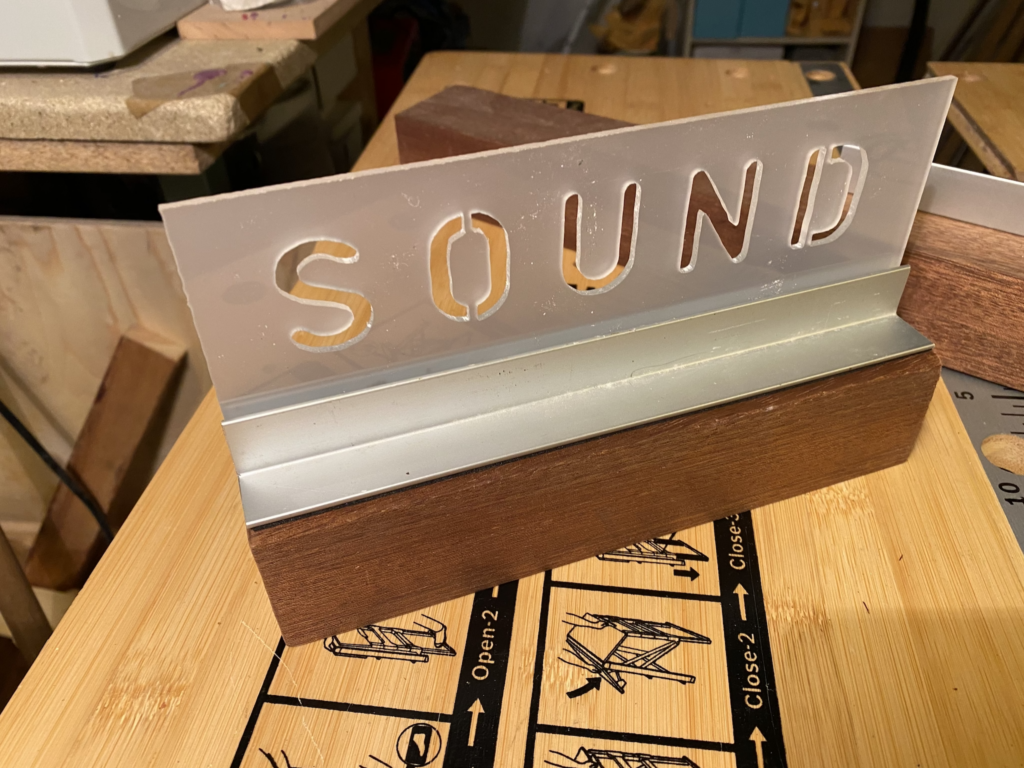
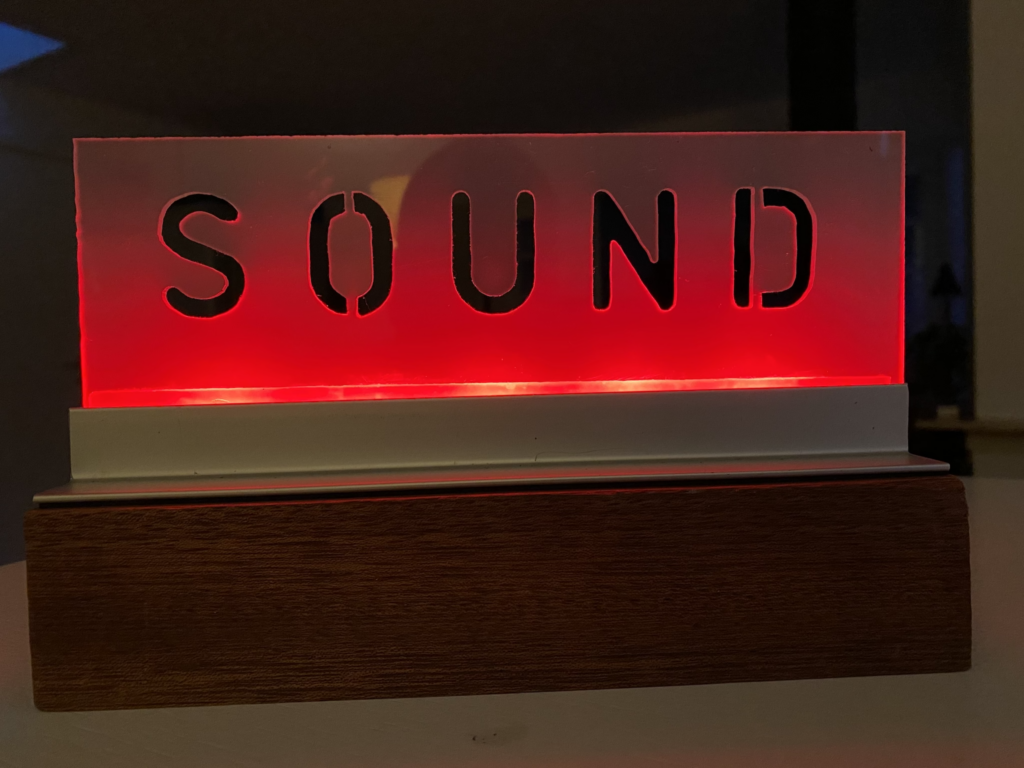
In this project I have made a sign in acrylics with 5 red LEDs mounted at the bottom.
I started cutting out the letters with a decoupage saw. The letters was made with a stencil font to make it possible to cut out the letters with interior shapes.
I drilled five holes in the bottom and made a holder in two l-shaped aluminium rails. I these holes I glued 5 red LEDs and parallel connected them through resistors to a 9 voltage battery.
Controlling a little character with a flex sensor
In this prototype I’m experimenting with a flex-sensor mounted on my finger with rubberbands. I’m controlling two servo-motors that make the character turn and nod, respectively.
Controlling a beavers tail through bluetooth
In this example I have made an Android app in Thunkable. The app connects to the Arduino board through bluetooth and is controlling a servo-motor. When I move my finger on the phone the servo-motors rotation responds.
Making of Mr. Bluetooth Robot
In this video I’m guiding how to make a bluetooth connected robot. Two paper rolls, a servo, two LED’s and a Bluetooth module. Contolled by an Arduino Uno.
Micro:bit
Micro:bit Tennis Game
In this video I’ll show how to make a fun tennis game with two micro:bit. I’ll use the one micro:bit to control the LED’s and the sound from a Piezo. I’ll use another micro:bit as a remotecontrol. This micro:bit I’ll place on a tennis racquet made from cardboard.
Scratch 3.0 and Micro:bit – Drive a vehicle with your Micro:bit – DIY game-controller
Micro: bit can be used in the upcoming version 3.0 of Scratch to control a sprite / figure on the screen.
In this small project I show how I can use the buttons on the Micro: bit to select the car’s driving direction, and with Drive your car in Scratch by controlling it remotely with your Micro:bit. The upcoming version of Scratch 3.0 (Januar 2019) will allow you to integrate your Micro:bit and take use of all the great features in the Micro:bit. You can for example use the accelerometer to control the speed of a vehicle you have made and coded in Scratch. Use the buttons to change direction. The Micro:bit is connected via Bluetooth, so you actually have your own wireless controller to your own games. Make a nice skin to your Micro:bit in wood or in LEGO bricks and you have you own cool custom game-controller.
Making of a micro:bit Cat with LED eyes.
Making of a cute micro:bit cat with LED eyes. A simple cardboard cat that contains the micro:bit board. Use the micro:bit to turn on/of the cats eyes. Make your own interactive toy with micro:bit. By adding a character you can play with the micro:bit – use it as a controller to give your character life.


